%2Fhttps%3A%2F%2Ffbi.cults3d.com%2Fuploaders%2F29299391%2Fillustration-file%2F1c5b3c99-449b-449c-a82d-b4033354e3c4%2FWhatsApp-Image-2026-05-13-at-4.25.30-PM.jpeg)
Raspberry PICO Macro Keyboard
by sathishboss
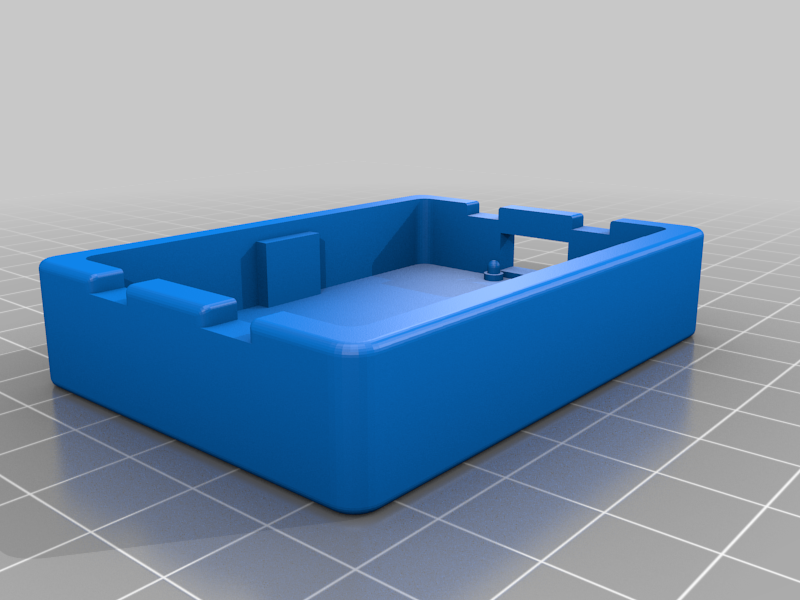
Custom 3 x 3 keyboard -two flavours -one with oled .96 ssd1306 128 x 64 -plain keyboard alone Note: When mounting the oled i have used double side table on top of the pcb align across the cut out check out the configurator and project details here https://github.com/sathishrazor/mackro-keyz Configurator http://sathishrazor.github.io/mackro-keyz/ ## 🚀 Features - **Web-Based Configurator**: Remap keys directly from your browser using the File System Access API. No software installation required! - **Multi-Action Macros**: Each key can trigger a sequence of actions including hotkeys, text strings, and media controls. - **Profile Management**: Save and switch between different macro profiles. - **Dark Mode Support**: Sleek, modern UI with theme persistence. - **Simple Firmware**: Lightweight CircuitPython firmware that runs on any RP2040 board. ## 🛠️ Hardware Requirements - **Microcontroller**: Any RP2040-based board (e.g., Raspberry Pi Pico, Adafruit KB2040, Seeed Studio XIAO RP2040). - **Matrix**: 3x3 mechanical switch matrix (or any configuration, adjustable in `firmware/code.py`). - **Connection**: USB-C/Micro-USB cable. - **PCB**: Custom designed PCB (files in `pcb/` folder). [View Schematic](pcb/Schematic_MacroKeyboard_2026-05-12.png) ## 💾 Installation ### 1. Firmware Setup 1. Install **CircuitPython** on your RP2040 board. 2. Copy the contents of the `firmware/` folder to your board's root directory (`CIRCUITPY` drive). 3. Ensure you have the necessary libraries in the `lib/` folder (standard Adafruit HID libraries). ### 2. Configurator Setup If you want to host your own configurator: 1. Navigate to the `configurator/` directory. 2. Install dependencies: `npm install` 3. Run locally: `npm run dev` 4. Build for production: `npm run build` ## ⚙️ Usage Guide 1. Connect your macro keyboard via USB. 2. Open the [Macro Keyboard Configurator](https://sathishrazor.github.io/mackro-keyz/) in a modern browser (Chrome, Edge, or Opera). 3. Click **Connect** and select the
Similar models
%2Fhttps%3A%2F%2Ffbi.cults3d.com%2Fuploaders%2F17009051%2Fillustration-file%2F85b90435-d19e-449d-a638-fbf4b9fc28d2%2Fnew-icecream.png)
%2Fhttps%3A%2F%2Ffbi.cults3d.com%2Fuploaders%2F22062174%2Fillustration-file%2Fb799a48d-2c1c-48ef-9539-b4a66895b7c3%2F0b15b3b5-2583-4dd2-b1b4-56a79f331c62.png)
%2Fhttps%3A%2F%2Ffbi.cults3d.com%2Fuploaders%2F23766964%2Fillustration-file%2F361898ed-4276-4f85-88fc-986a542586b0%2F1688478080926.jpg)
%2Fhttps%3A%2F%2Ffbi.cults3d.com%2Fuploaders%2F2348942%2Fillustration-file%2F64ff11e4-0c7d-49de-8fc0-fe90c7398d77%2Fpicokb.jpg)
%2Fhttps%3A%2F%2Ffbi.cults3d.com%2Fuploaders%2F31800686%2Fillustration-file%2Fa114d234-9de8-4e1a-9977-6bf6841195bf%2Fp12-005.jpg)