%2Fhttps%3A%2F%2Ffbi.cults3d.com%2Fuploaders%2F17009051%2Fillustration-file%2F85b90435-d19e-449d-a638-fbf4b9fc28d2%2Fnew-icecream.png)
Bloko 9 - Pico
by hyperglu
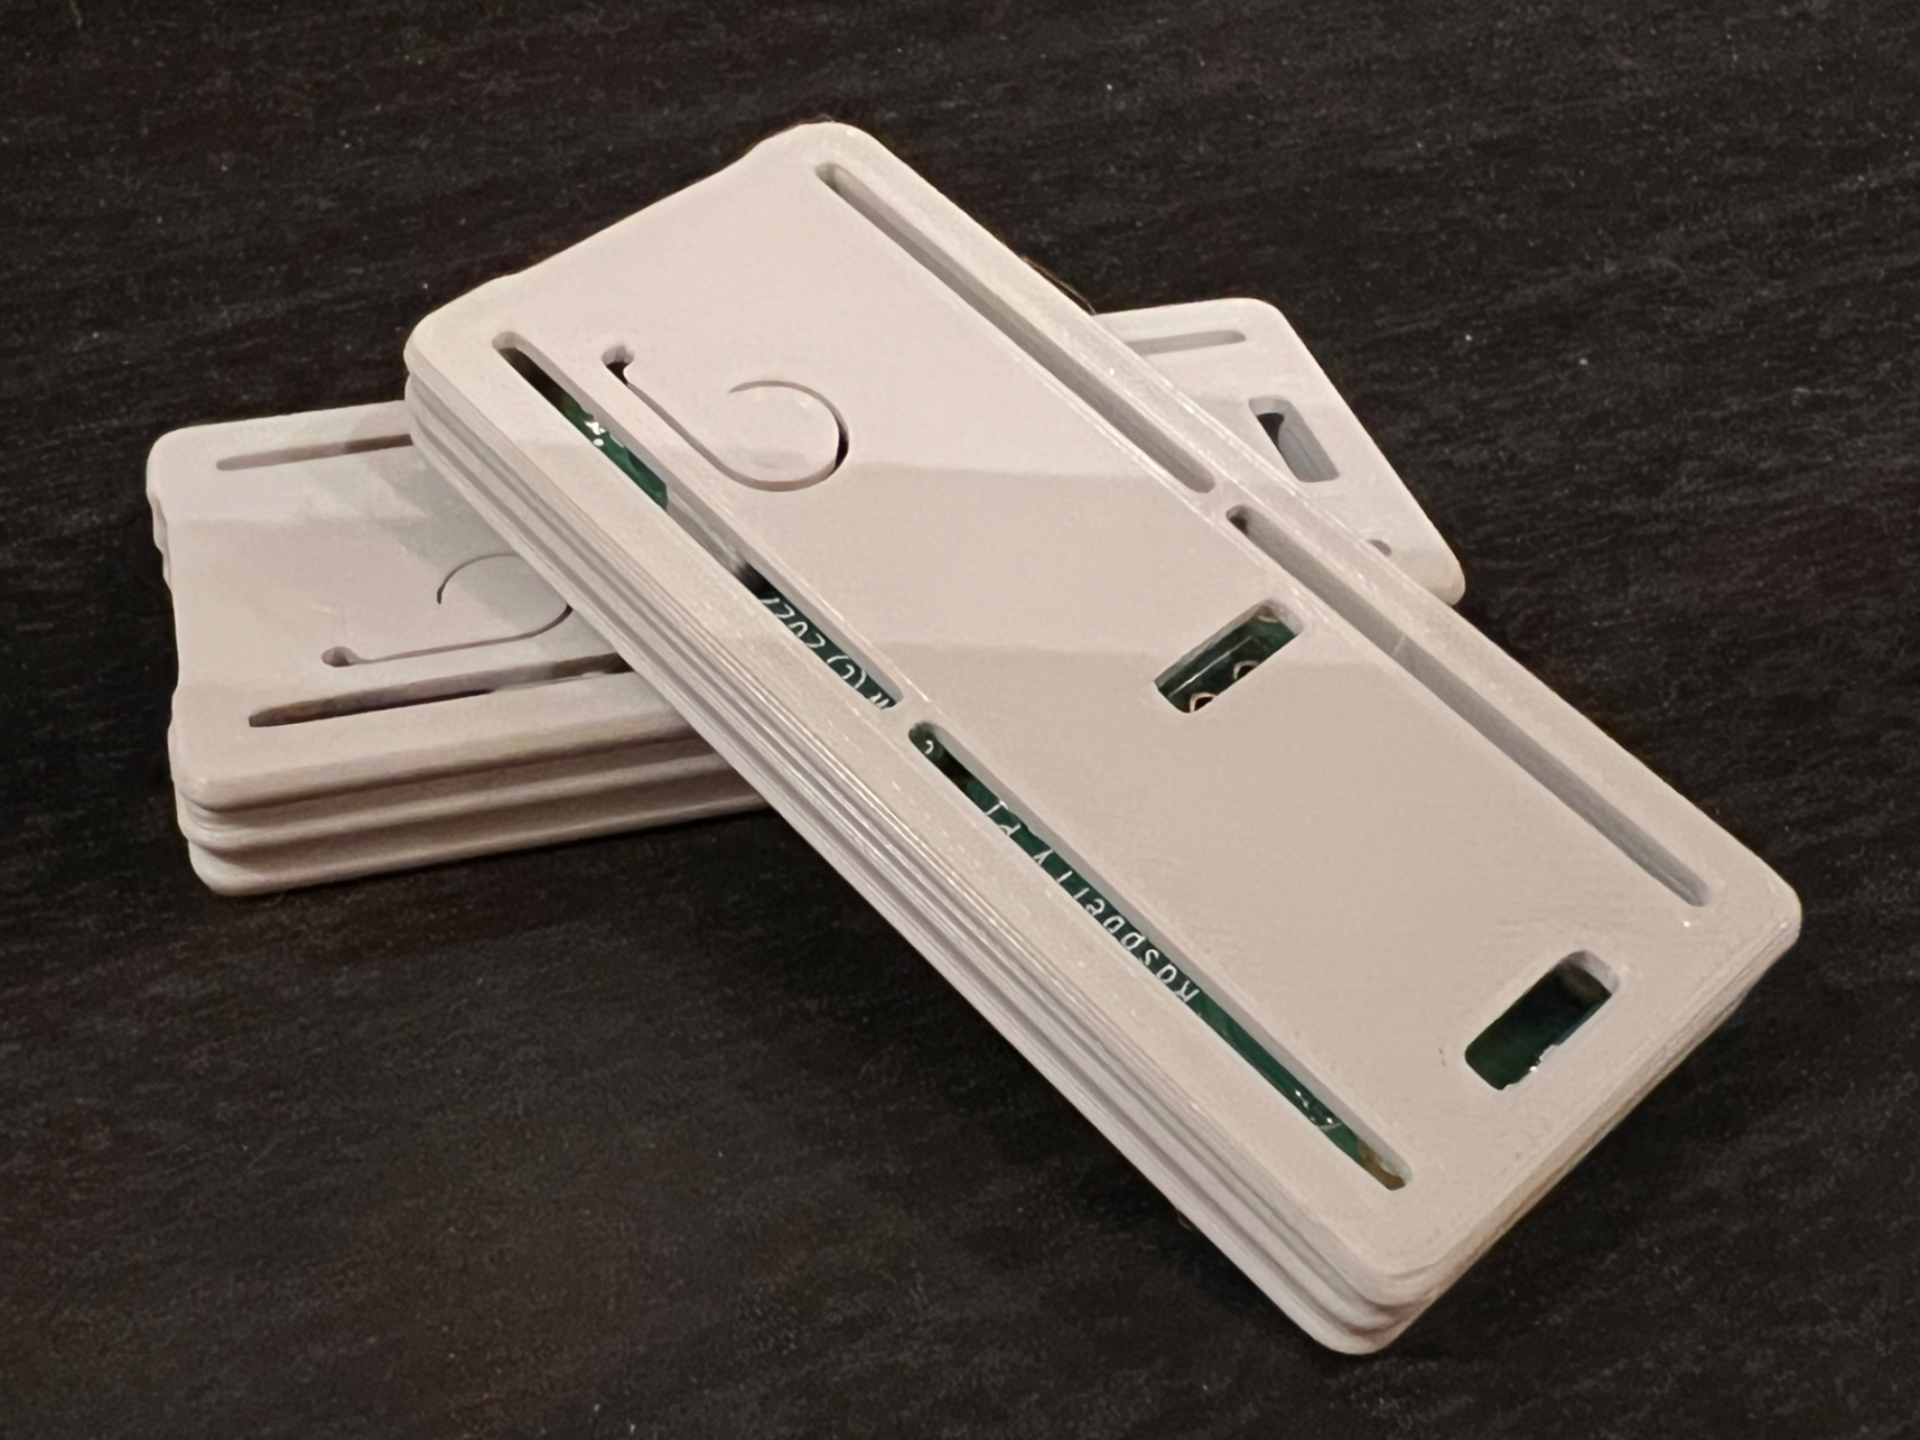
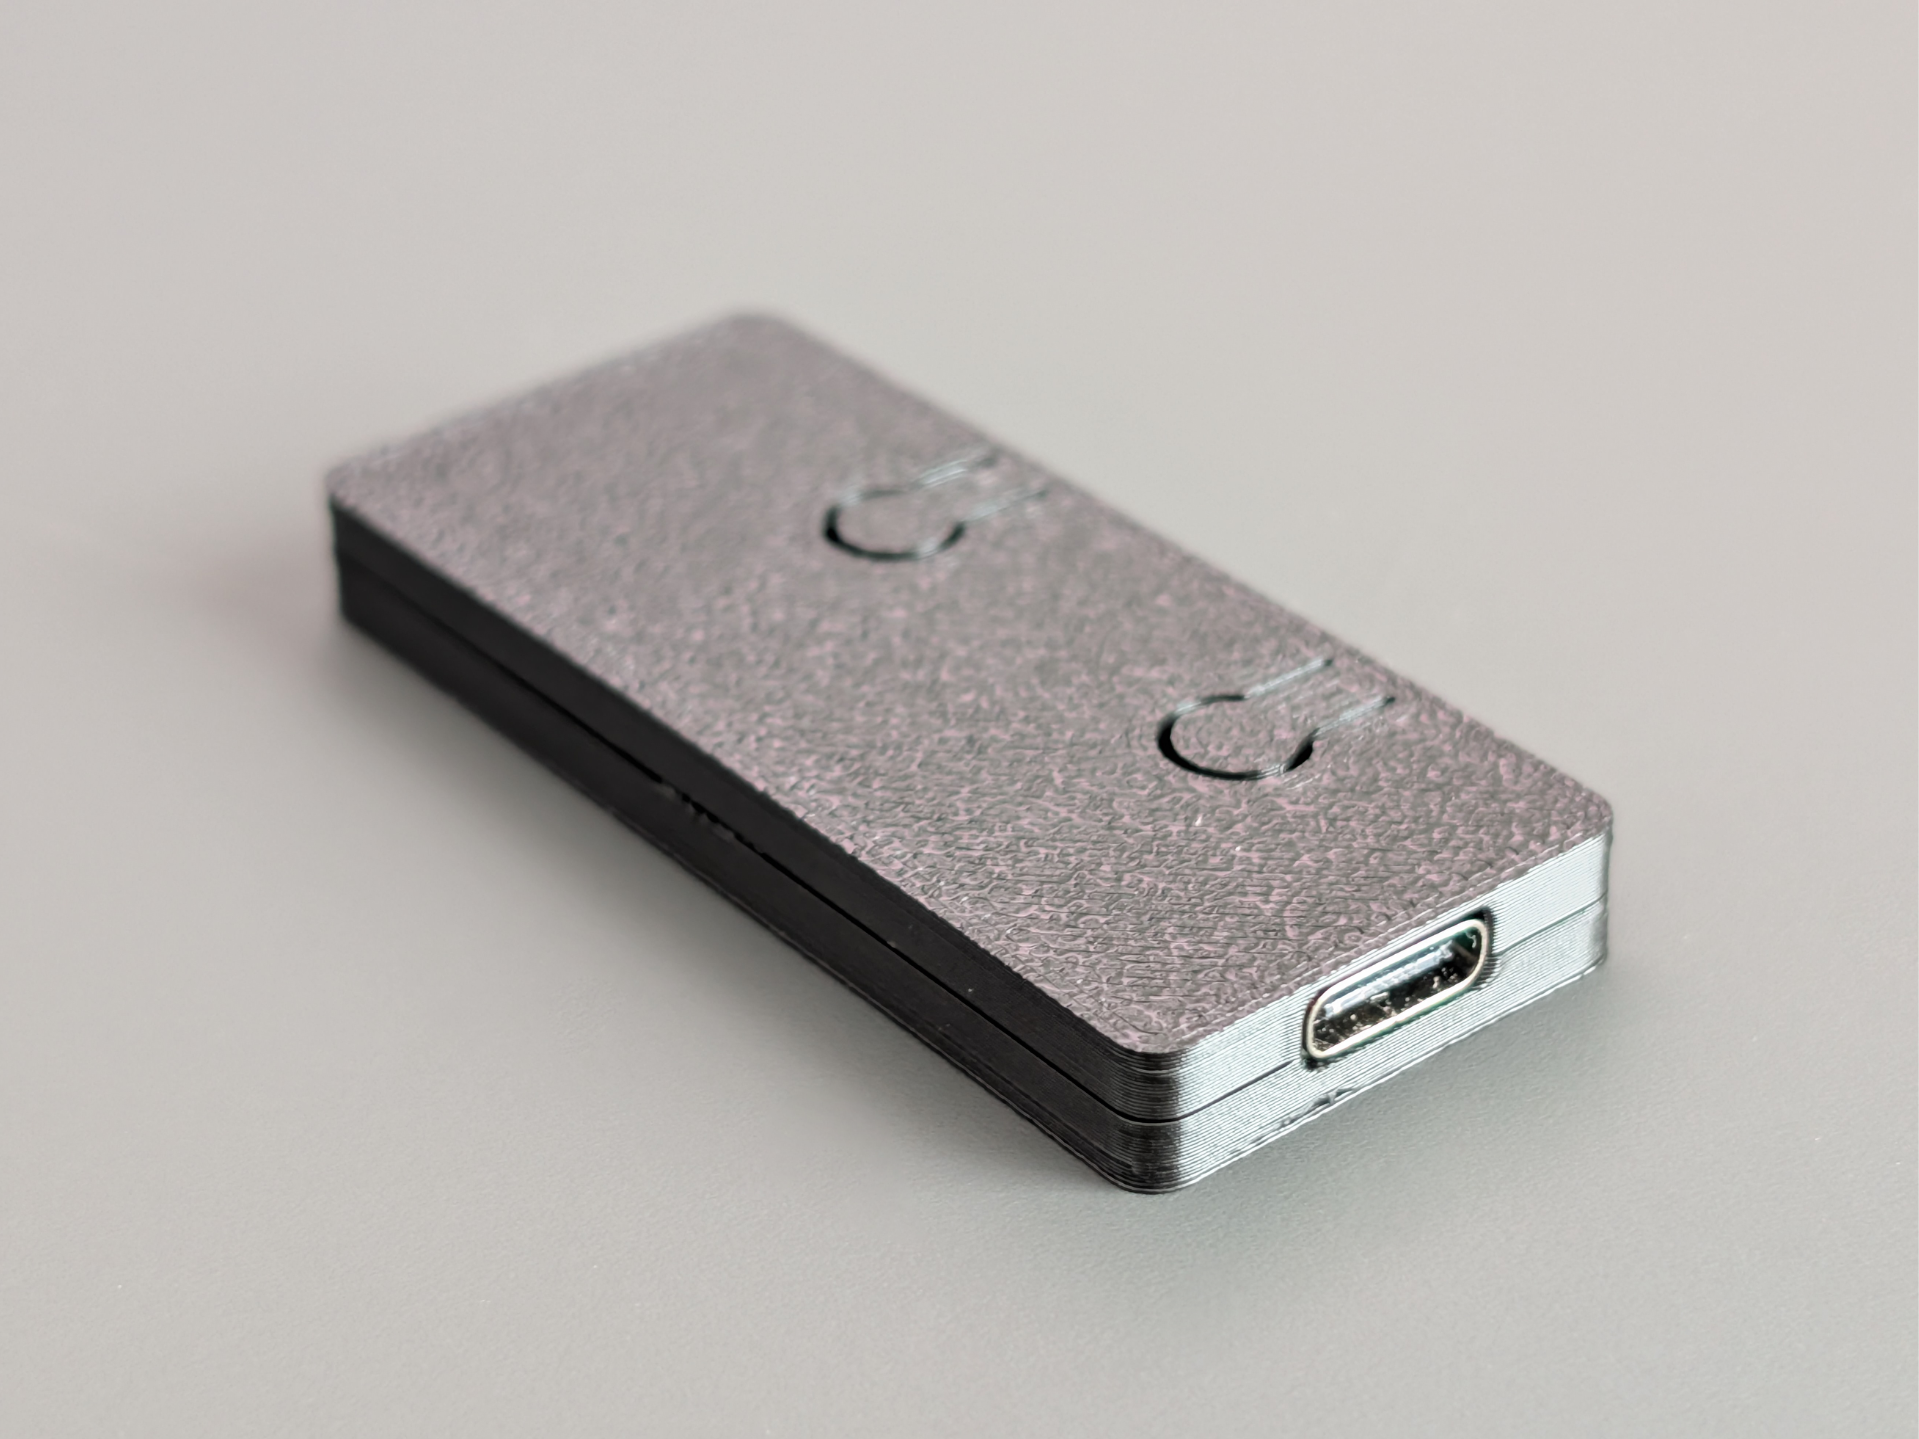
**A very compact programable keyboard.** It uses the new $4 Raspberry Pico microcontroller and the standard Cherry MX / Gateron key switches. **You need:** a Pico, 9 key switches, some wires, a soldering iron and about 30 minutes to assemble it. **Parts:** Keycaps - there are 3 types of keycaps attached, a flat one, a carved one and a dotted one (carved also). Top - the part were the switches go in. You have 2 options: with or without switch blockers. The one with blockers allows you to pull out the keycaps without breaking the wires. PCB - depending on the wires you're using you'll find attached stl files for wires with diameters between 0.3mm and 1mm. Bottom - it's the bottom cover. **Assembly order**: - Build the PCB (check the last photos). Make a small hook at an end of the wire and try to create a small pin (1-2mm) using the cubes on the pcb. Following the line on the print, push the wire inside. - Attach the switches to to the Top part. Double check the orientation before pushing them in (pins should be in the lower part, led hole in the upper part). - Slowly slide in the PCB. The PCB has an arrow which should point to the usb. - Solder all the switches to the wires on the PCB. - Push the Pico in (usb side first). - Solder the Pico. - Close the box with the bottom cover. **How to program it:** Pins: GP28, GP2, GP5, GP27, GP11, GP7, GP19, GP17, GP14 Adafruit's HID library: https://github.com/adafruit/Adafruit_CircuitPython_HID Here is a tutorial by Novaspirit Tech: https://www.youtube.com/watch?v=aEWptdD32iA More info about Pico: https://www.raspberrypi.org/documentation/rp2040/getting-started/

%2Fhttps%3A%2F%2Ffbi.cults3d.com%2Fuploaders%2F2348942%2Fillustration-file%2F5ba7136e-7658-4133-beae-6d3e5869ab30%2Fcases-hero.jpg)
%2Fhttps%3A%2F%2Ffbi.cults3d.com%2Fuploaders%2F23766964%2Fillustration-file%2F361898ed-4276-4f85-88fc-986a542586b0%2F1688478080926.jpg)