
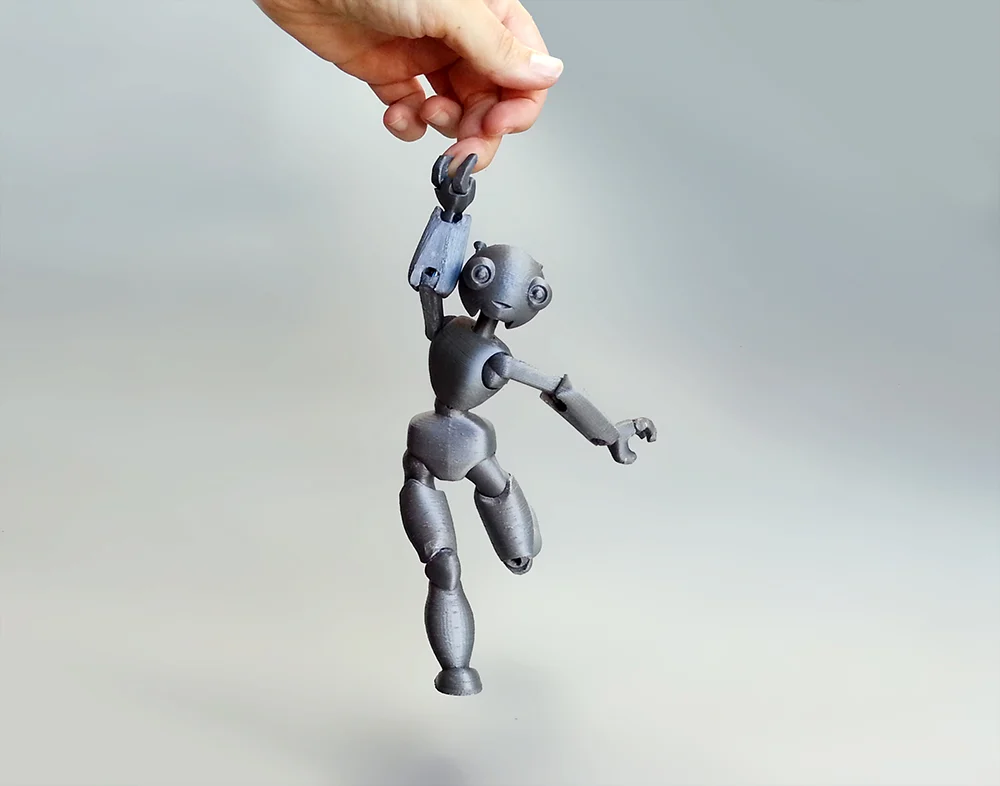
Dragon stand with ball joints
by SNG_3D
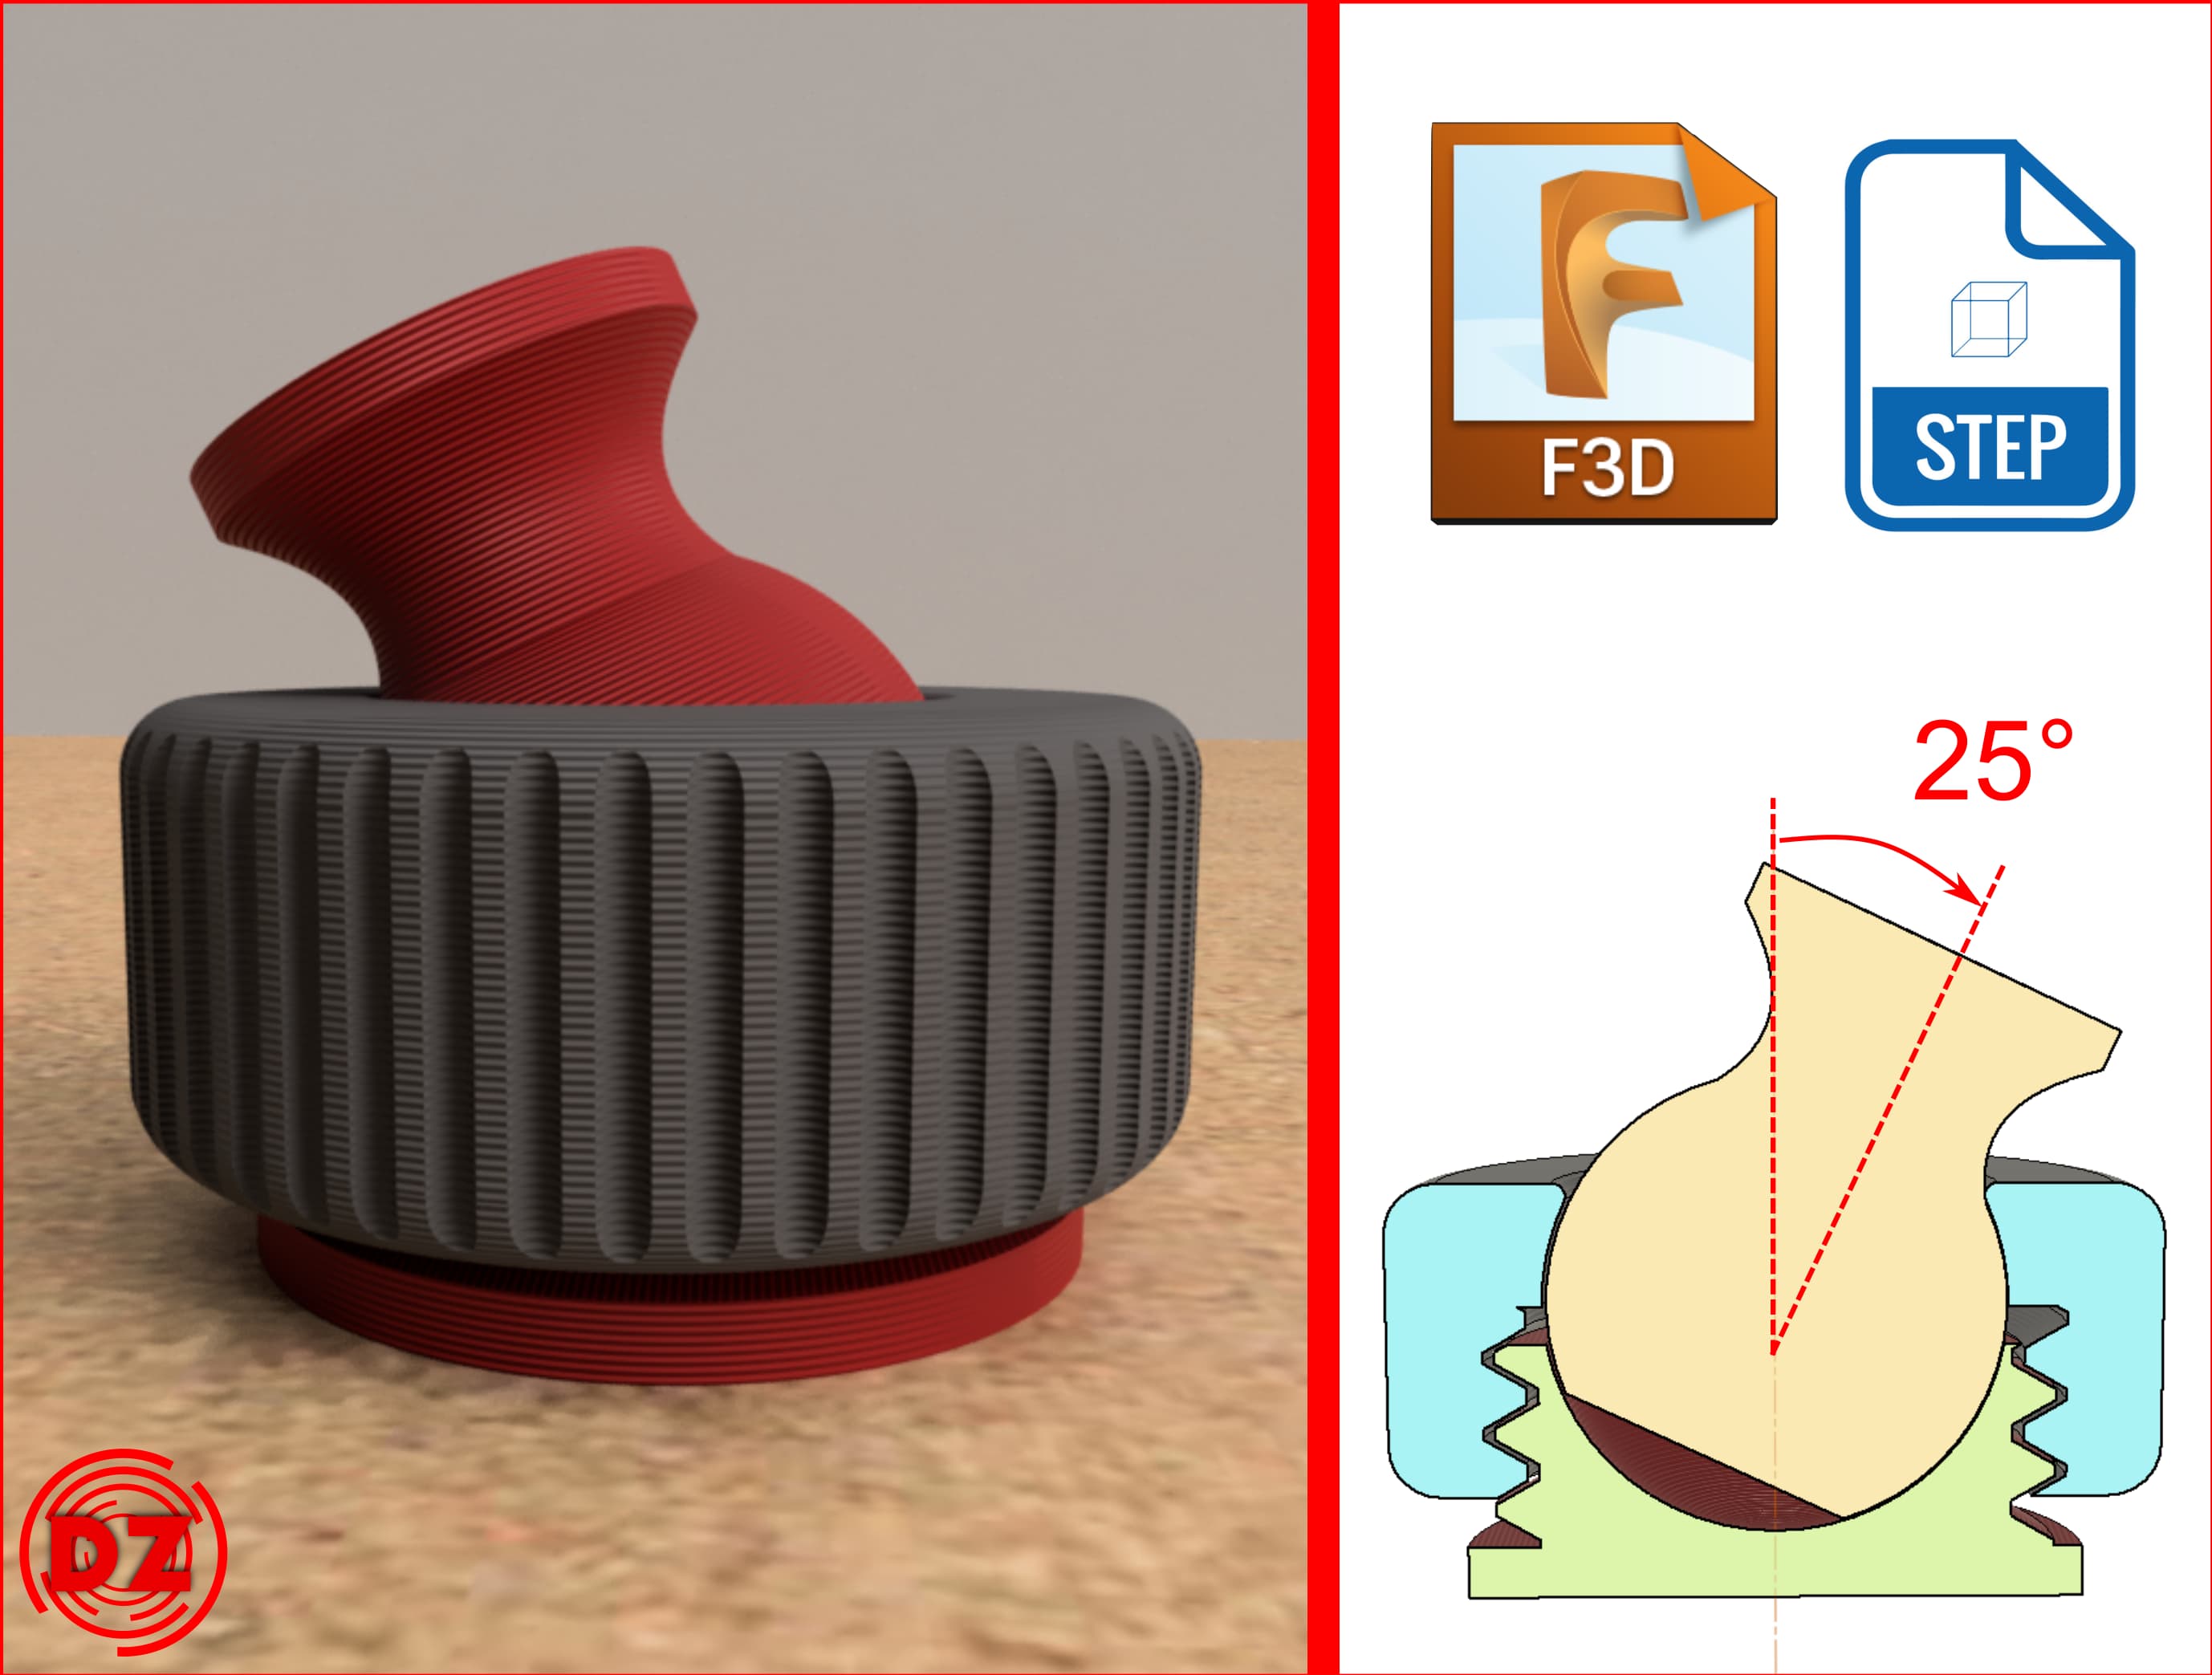
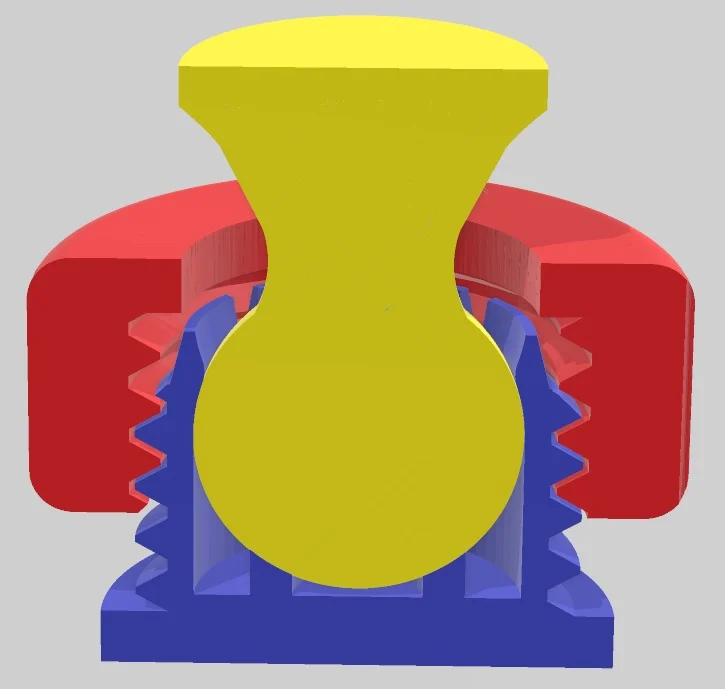
Since it took me not so much effort to create this model, I will detail the steps to generate this model, so, any maker who is still wondering how to begin with simple models and remixes can get some ideas:The stand base is made through:Pick an already existing 3D model that can serve as a base. In my case, I used Tinkercad an got the pre-existing model "Mountains with snow" and exported it to .STL file.I also downloaded the .STL files of Thingiverse Ball joint by Jaae (https://www.thingiverse.com/thing:3621974)With Autodesk Meshmixer, mix the "base" with the female part of the ball joint. Meshmixer is really powerful for simple operations like multiplying, transforming and combining. In this case, I resized the mountains until I got something big enough, placed the ball joint part, duplicated it 4 times and relocated those around. Then, I combined it all together and exported the .STL.The hangers and male balls are made with CATIA, but any other CAD program could do the same.For the male balls, I made them from scratch, using the same ball diameter as in the already mentioned ball joint model, but with a wider base and the hole.For the hangers, I inspired myself in many other hangers and stands for articulated models you can find around.The hardest part is in my opinion the fitting between the hanger poles, and the male ball hole. I did several trials and errors, sometimes fitting is too tight and pole doesn't get in, and some times is just too lose. As I said, several trials and eeros, and in the end, this is what worked for me, but this also depends on your printer settings, and things such as, having elephant foot during printing or horizontal expansion:For the hole in the male ball part:Diameter: 6.4 mmDistance between paralels: 5.4 mmFor the pole of the hangers:Diameter: 6.0 mmDistance between paralels: 5.0 mmFor the printing setups, I would say is a pretty easy-to-print set, since there are no hovergans. At least for the ball joints, I would recomend at least


%2Fhttps%3A%2F%2Ffbi.cults3d.com%2Fuploaders%2F32040086%2Fillustration-file%2F241c3f35-2683-441f-a8e6-25e597425e72%2F20250303_205206.jpg)

