Customizable Key Holder - JDA Slim Remix
by Jwidess
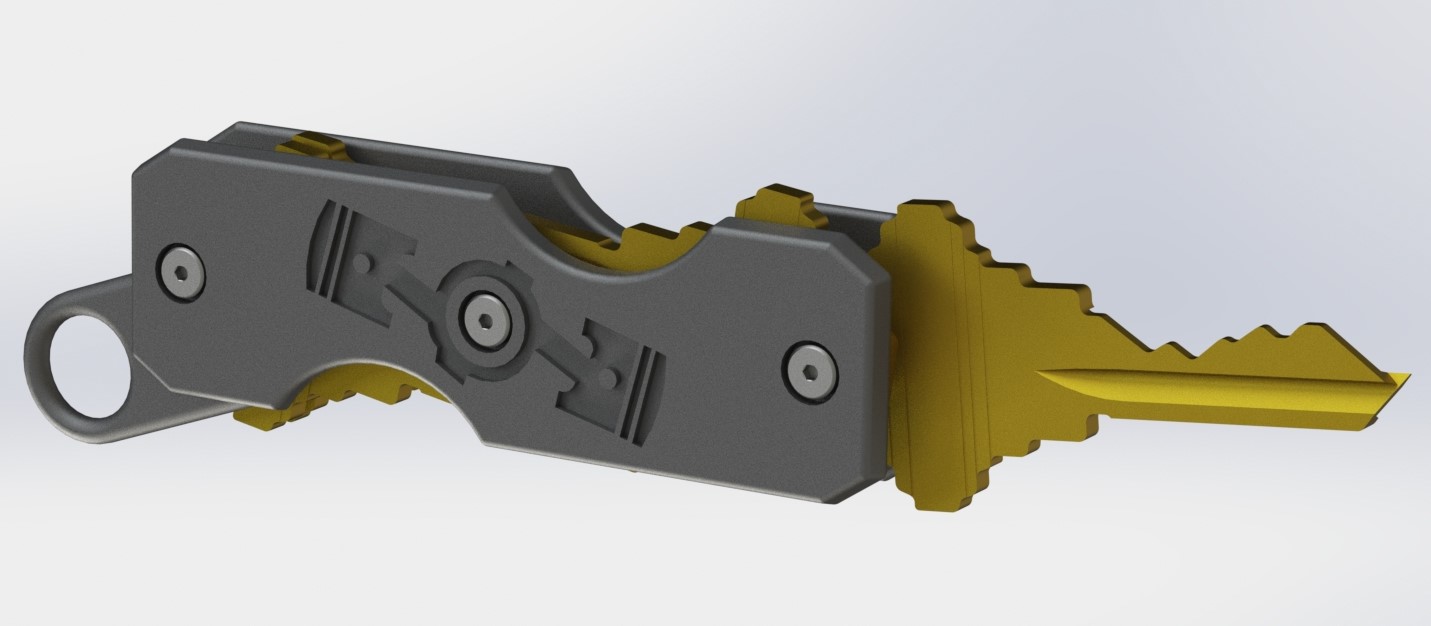
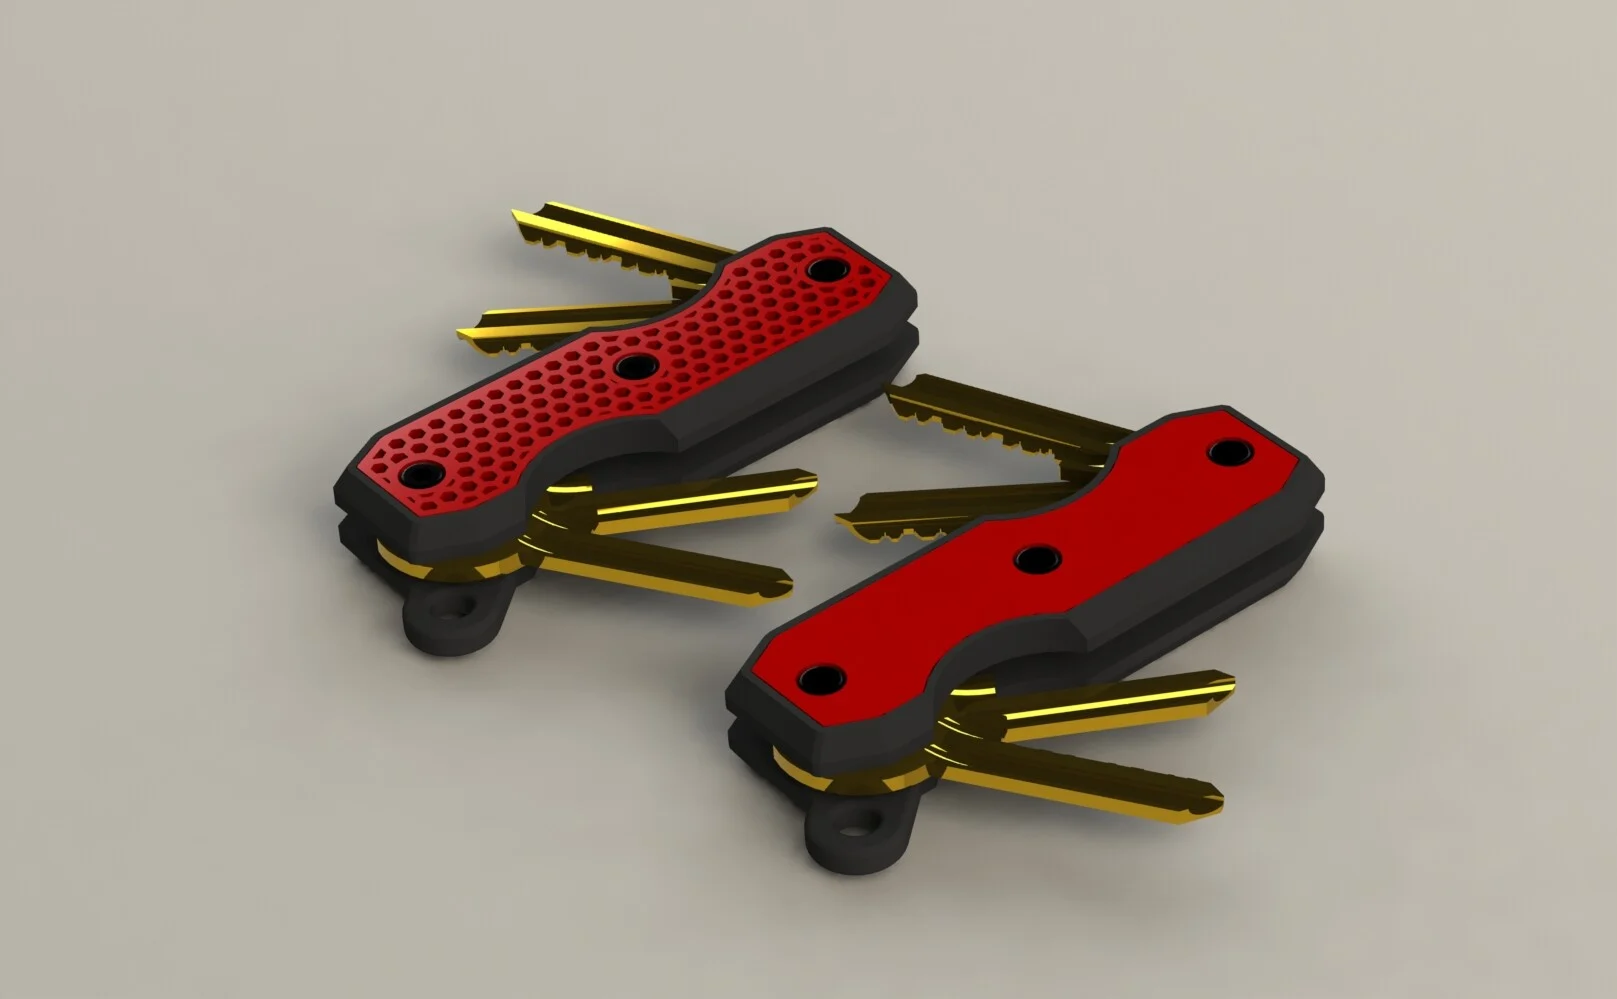
This is my remix of @Justin_240735 's fantastic Customizable Key Holder . I really enjoyed this design and found it to be exactly what I was looking for to hold 3-4 keys (or more). However, my only problem with the design was it felt a bit thicker than it needed to be, thus I modified the model to reduce it slightly. Other than the thickness reduction, a few offsets, and some chamfers & fillets, the model is identical to the original. Thanks again to the author for publishing the SolidWorks files making these modifications super easy, I really appreciate it! Non-Printed Parts 3 x Cap Head Screws M3x(KeyThickness + SpacerThickness + ~6mm) M3x10-14mm works well for 4 keys as imaged above. Cap Head Screws work best due to their low profile. 3 x Nuts M3 Instructions: You will need both base files (Base Nut & Base Screw) and then either set of inserts that go into the base parts (Plain or Hex). A total of 4 parts for the main body. Then for spacers, print out a handful of different sizes and see what works best with your keys! NOTE : It may be beneficial to add a small drop of thread locker to each nut to prevent the screws from coming undone over time. Printing Print with 100% infill and 3+ perimeters. Make sure inserts have supports in their nut/screw holes. I used PLA+ for mine, and it has been working fine for a few months. UPDATE: 8 months on, and my PLA+ is still in great shape! NOTE : Printing the Insert Hex pieces can be tricky due to the very small honeycomb design, resulting in lots of small extrusions and retractions on the first layer. I recommend printing the first layer very slowly and making sure your first layer is dialed in well. Also, using a <0.4mm nozzle would likely be beneficial, but using 0.4mm did work for me after a few attempts. Additionally, using Arachne wall generation and increasing " Minimum wall length " and "Minimum feature size" can reduce the number of small extrusions on the first layer. Don't forget